
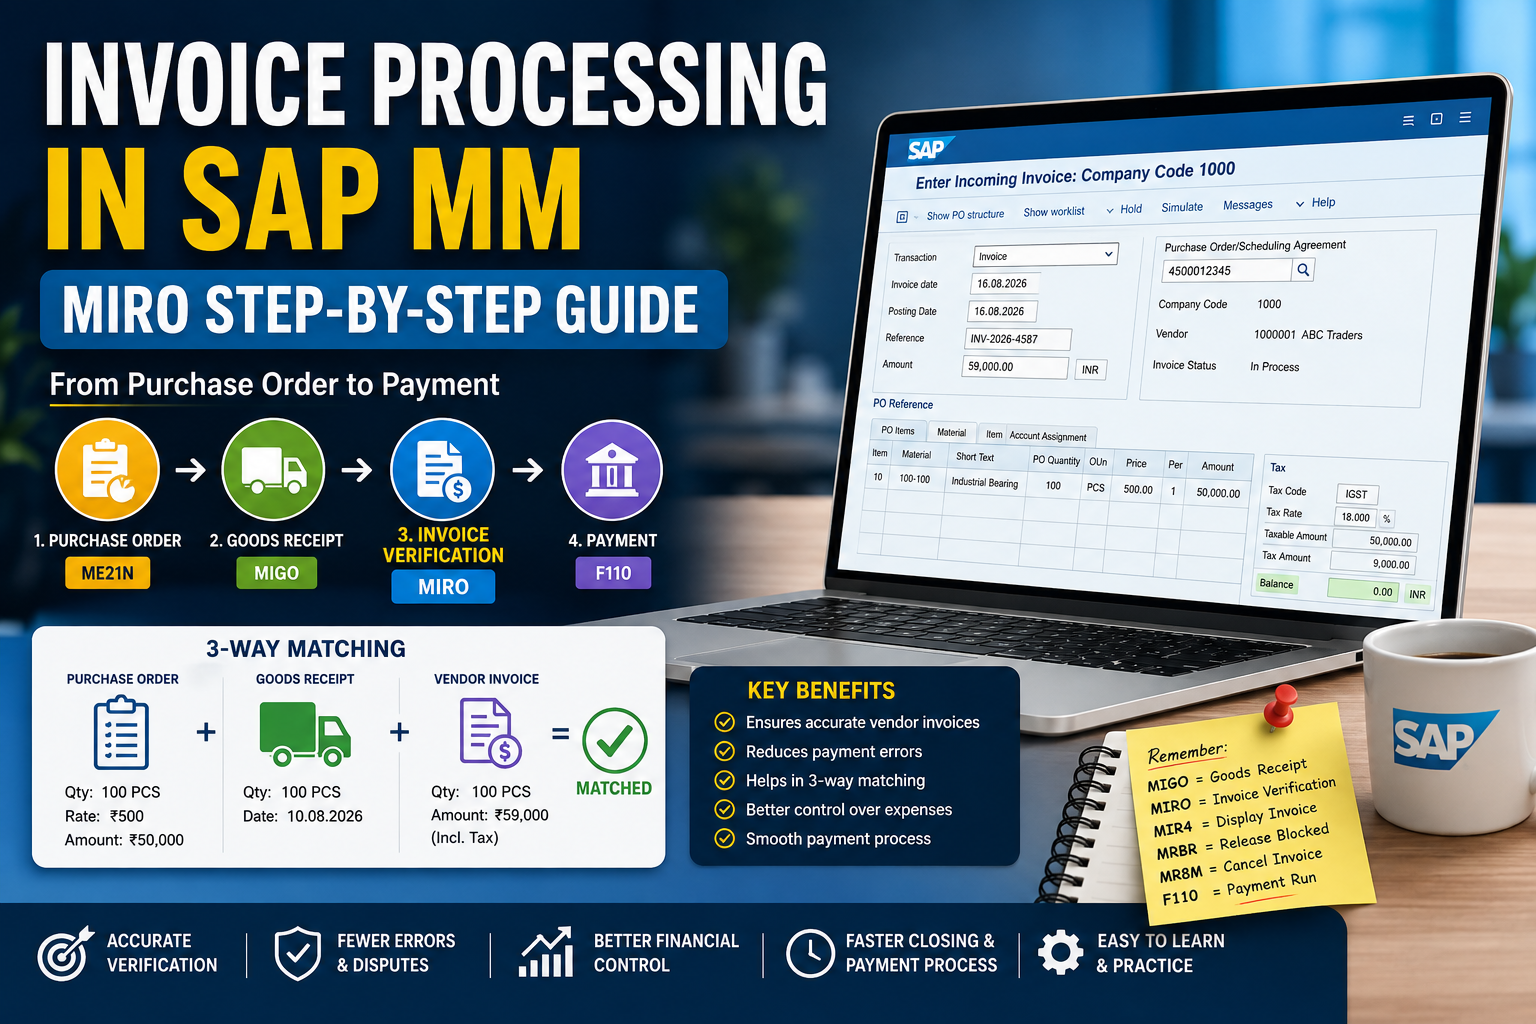
Invoice Verification in SAP MM is an important part of the Procure-to-Pay (P2P) process. It is used to check whether a vendor’s invoice matches the Purchase Order (PO) and Goods Receipt (GR) before the invoice moves toward payment.
The main transaction code used for incoming invoice processing is MIRO – Enter Incoming Invoice.
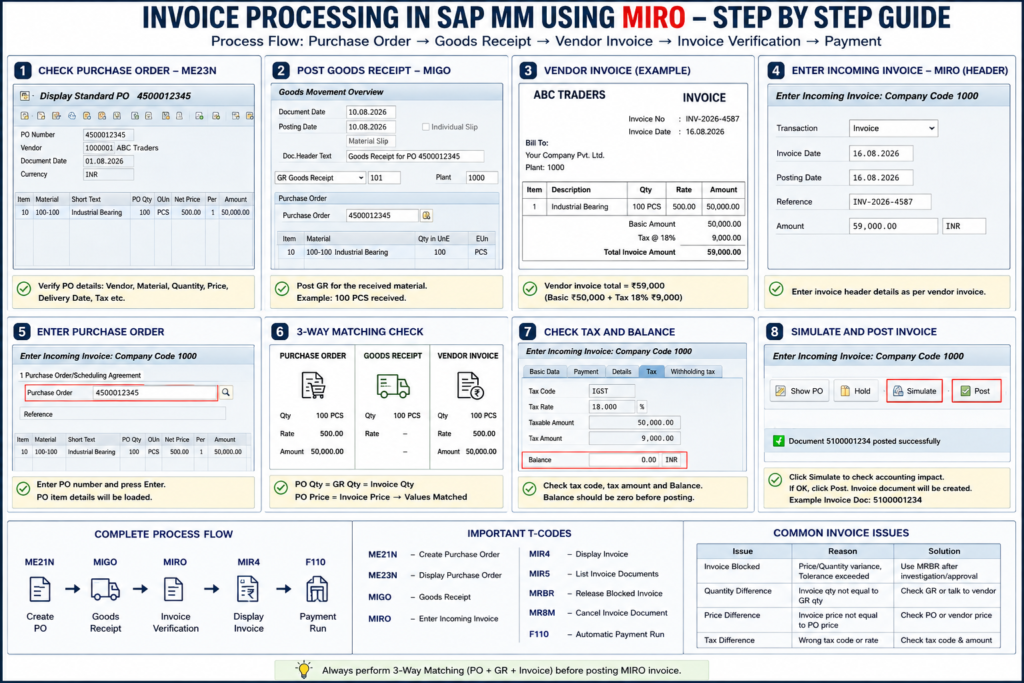
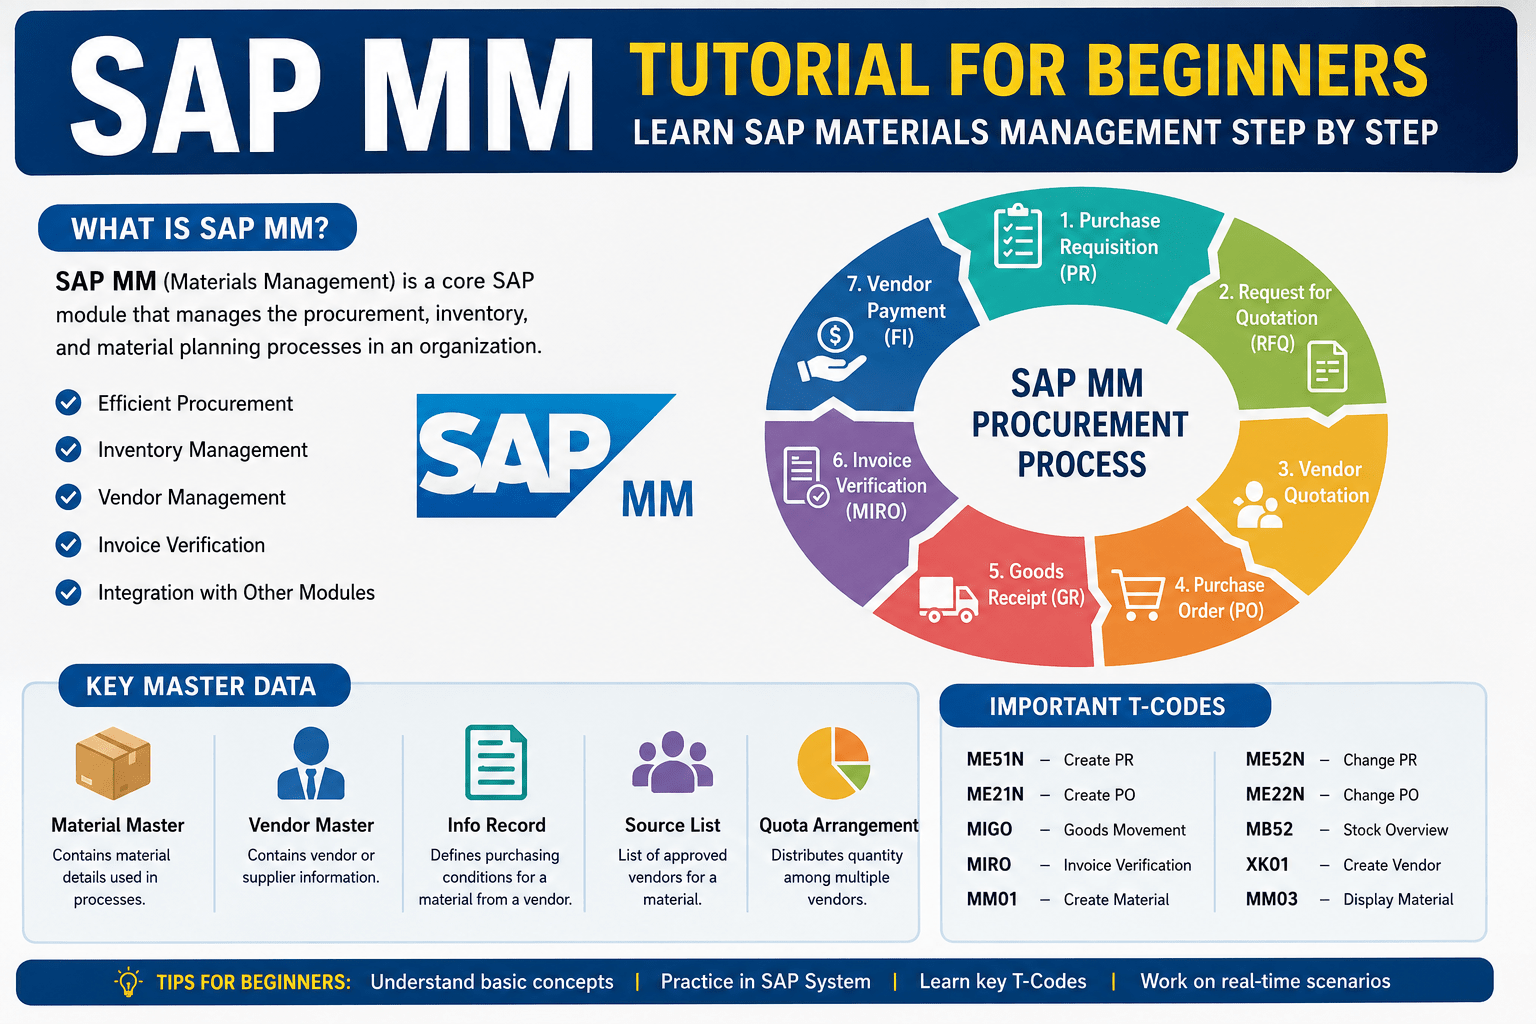
SAP MM Invoice Process
Purchase Order → Goods Receipt → Vendor Invoice → MIRO → Payment
| Step | T-Code | Activity |
|---|---|---|
| 1 | ME21N | Create Purchase Order |
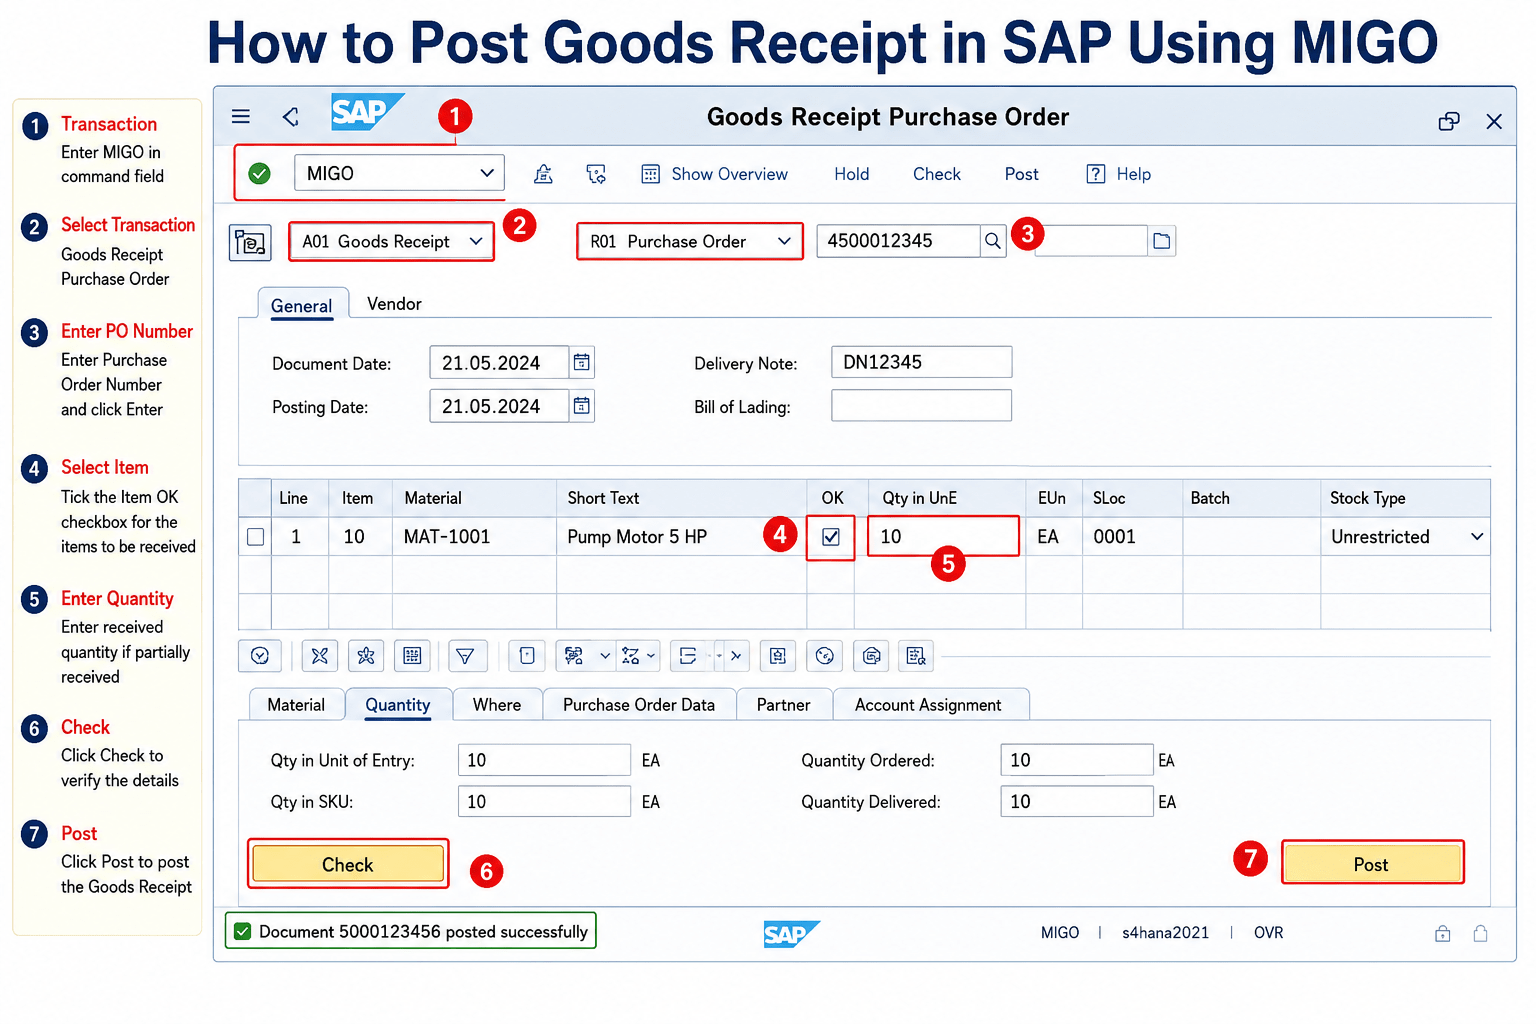
| 2 | MIGO | Post Goods Receipt |
| 3 | MIRO | Verify & Post Invoice |
| 4 | MIR4 | Display Invoice |
| 5 | MRBR | Release Blocked Invoice |
| 6 | MR8M | Cancel Invoice |
| 7 | F110 | Payment Process |
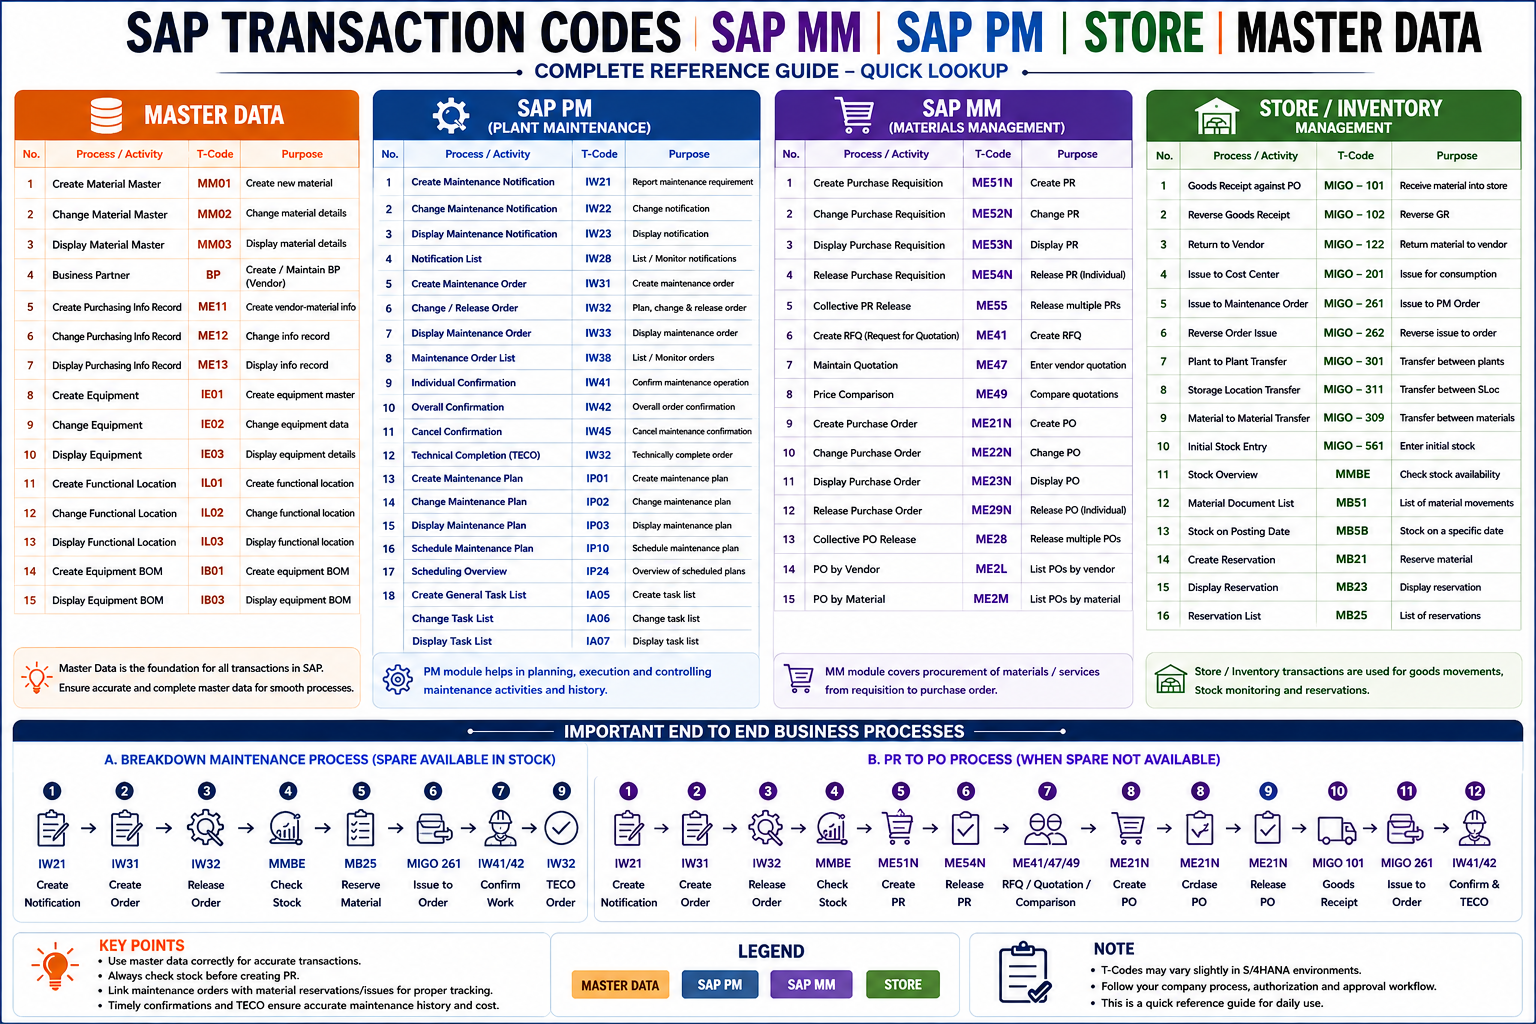
Also Read: SAP MM, SAP PM & Store Transaction Codes: Complete T-Code List and Process Guide, PDF
Example
Suppose a company purchases 100 bearings at ₹500 each.
- PO Quantity: 100 PCS
- PO Price: ₹500/PCS
- PO Value: ₹50,000
- GR Quantity: 100 PCS
- Tax @ 18%: ₹9,000
- Vendor Invoice Total: ₹59,000
How to Post an Invoice Using MIRO
Step 1: Open MIRO
Enter MIRO in the SAP command field and press Enter.
Select Invoice as the transaction type.
Step 2: Enter Invoice Details
Enter the vendor invoice information:
- Invoice Date: 16.08.2026
- Posting Date: 16.08.2026
- Reference: INV-2026-4587
- Amount: ₹59,000
- Currency: INR
Step 3: Enter Purchase Order
Enter the PO number in the Purchase Order/Scheduling Agreement field.
Example:
PO: 4500012345
Press Enter to load the PO items.
Step 4: Perform 3-Way Matching
Compare:
Purchase Order ↔ Goods Receipt ↔ Vendor Invoice
Example:
| Document | Quantity | Rate |
|---|---|---|
| PO | 100 PCS | ₹500 |
| GR | 100 PCS | — |
| Invoice | 100 PCS | ₹500 |
The quantity and price should agree with the supporting documents, subject to configured tolerances.
Step 5: Check Tax and Balance
Verify:
- Invoice quantity
- PO price
- Tax code
- Tax amount
- Total invoice value
- MIRO balance/status
Investigate any unexpected difference before posting.
Step 6: Simulate and Post
Click Simulate to review the accounting impact.
If everything is correct, click Post.
SAP generates an invoice document number. You can display the posted invoice later using MIR4.
Remember
MIGO = Goods Receipt
MIRO = Invoice Verification
MIR4 = Display Invoice
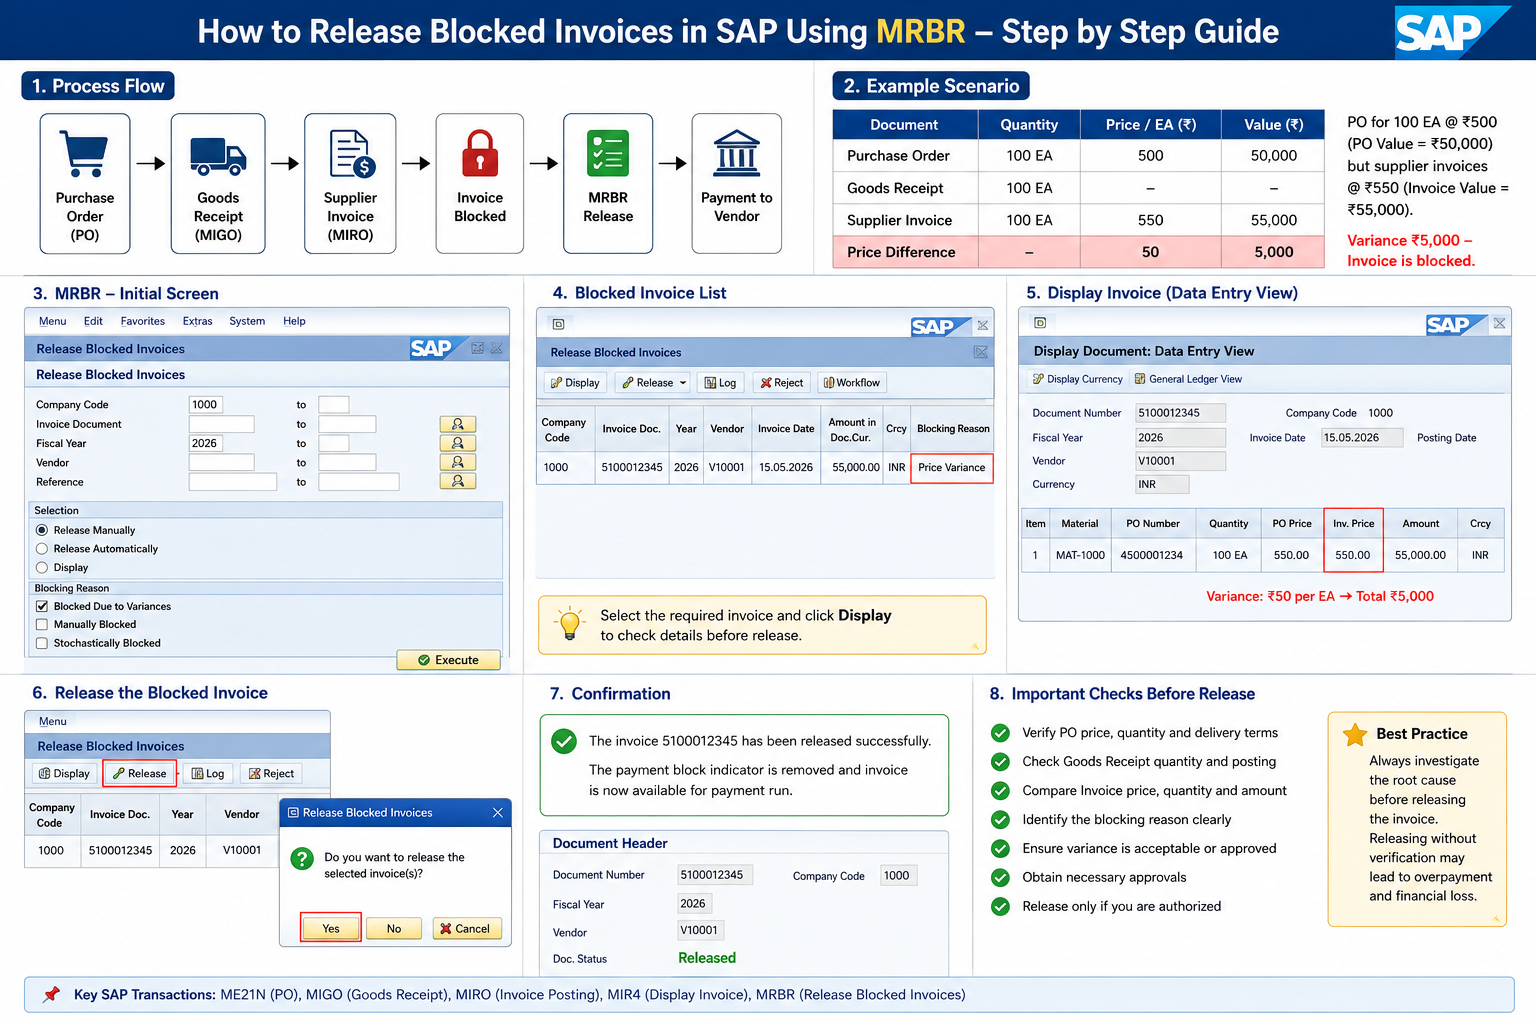
MRBR = Release Blocked Invoice
MR8M = Cancel Invoice
F110 = Vendor Payment
Conclusion
For beginners, remember the basic SAP MM invoice sequence:
PO → MIGO → MIRO → MIR4 → Payment
Before posting MIRO, always verify the PO, GR, invoice quantity, price, tax and total amount.




1 thought on “Invoice Processing in SAP MM: MIRO Step-by-Step Guide for Beginners”